Polar Bear Sugar Cookies
December 30, 2023
|
kate
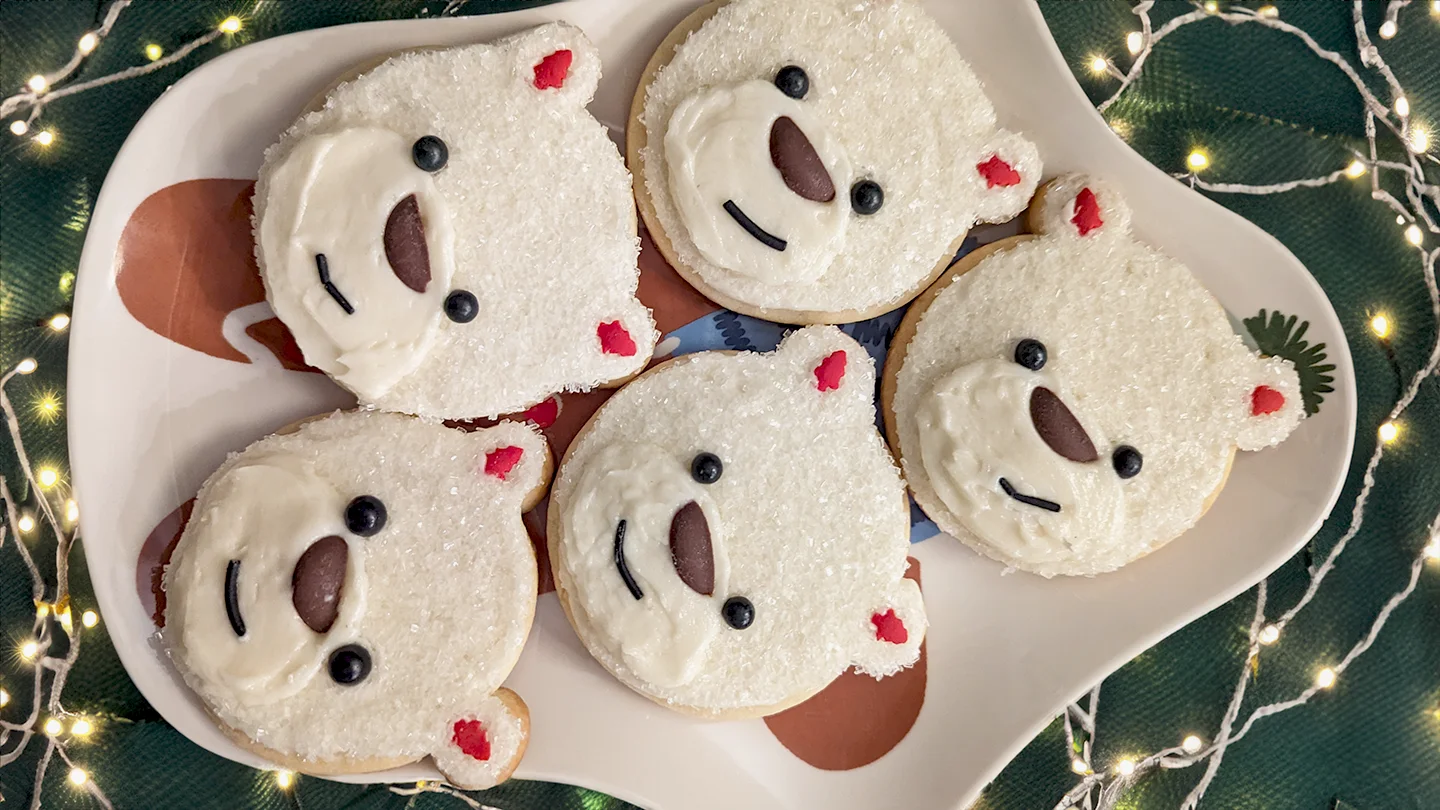
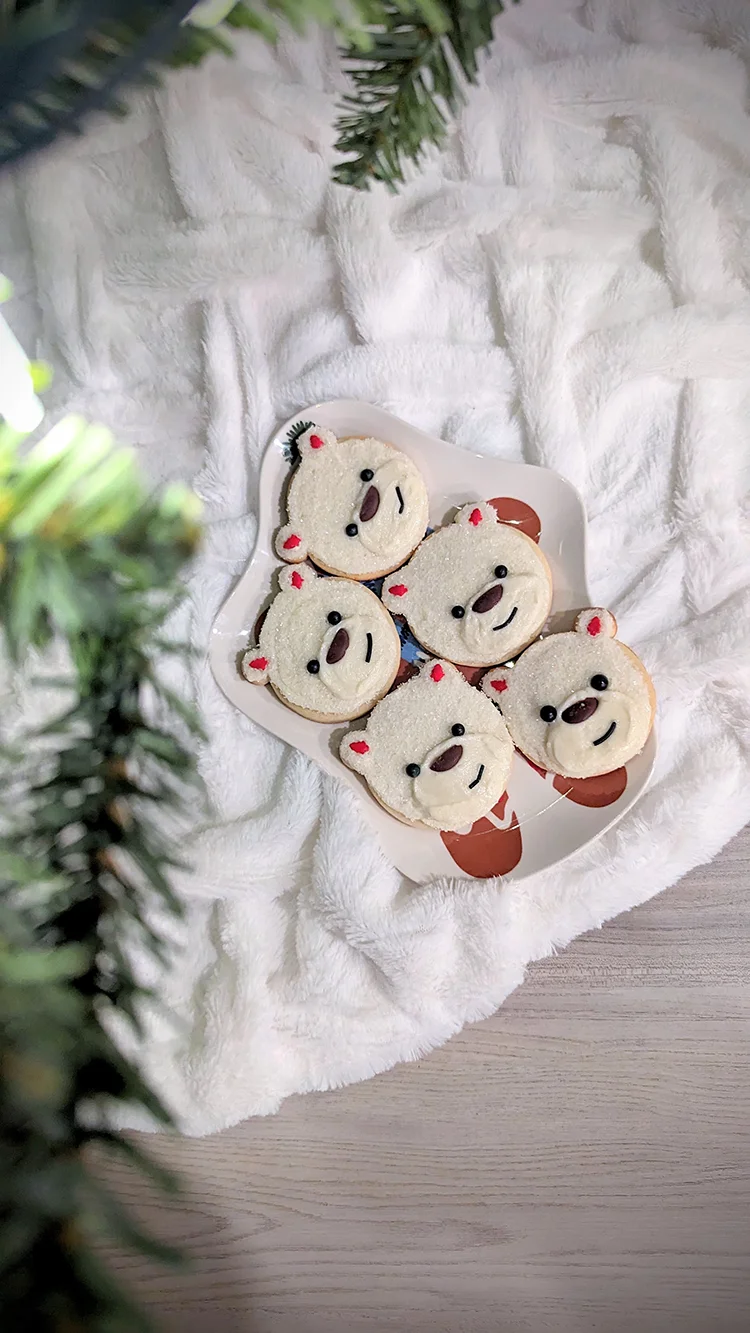
Get ready to have some fun in the kitchen with our Polar Bear Sugar Cookies recipe! With creamy dough and cute polar bear designs, these cookies are perfect for any winter get-together or just a cozy day at home. Easy to make and even more fun to decorate, you’ll love how these cookies turn out. So, grab your apron, and let’s make some cookie magic happen!
Prep Time: 1 hour
Chill Time: 2 hours
Bake Time: 14 minutes
Cool Time: 15 minutes
Total Time: 3 hours and 30 minutes
Ingredients
For the cream cheese cookie…
- ¾ cup butter, room temp
- 4 oz full fat cream cheese, room temp
- 1½ cups granulated sugar
- 1 large egg, room temp
- 2 tsp vanilla extract
- 3 cups all-purpose flour
- 1 tbsp cornstarch
- ½ tsp baking powder
- ½ tsp fine salt
For the buttercream frosting…
- 1 cup butter, room temperature
- 1 tbsp vanilla extract
- ½ tsp fine salt
- 3½ cups powdered sugar
- ¼ cup heavy cream
For the polar bear decorations…
- 1 cup of white sanding sugar
- 1 bag of large chocolate chips
- round black sprinkles
- red heart, Christmas tree, or round sprinkles

Steps
Start with the cookie dough,
- In a large bowl or the bowl of a stand mixer, beat together the softened butter and cream cheese on medium speed until smooth and creamy.
- Add the granulated sugar to the butter mixture and beat on medium-high speed for a couple of minutes until the mixture lightens in color.
- Incorporate the egg and vanilla extract into the mixture, mixing on medium speed until well combined.
- In a separate bowl, whisk together the all-purpose flour, cornstarch, baking powder, and salt.
- Gradually add the dry ingredients to the butter mixture in two additions, mixing on low speed just until incorporated. Scrape down the sides of the bowl between additions.
- Divide the dough in half and wrap each portion tightly in plastic wrap, shaping them into rectangles about 1/2 inch thick. Chill the dough in the refrigerator for at least 2 hours or in the freezer for 30 minutes until firm.
- Preheat the oven to 350°F and line two large baking sheets with silicone mats or parchment paper.
- On a generously floured surface, roll out one portion of chilled dough to approximately 1/3 inch thickness. Use a flour-dusted cookie cutter to cut out 2 1/2 inch circles.
- Use a smaller circle cutter (about 3/4 inch) to cut out smaller circles for the bear ears. Ensure you have twice as many small circles as the number of larger circles cut out.
- Place two small circles on each side of the larger circles for the bear ears, gently pressing them to attach.
- Chill the assembled cookies in the fridge for 15 minutes or in the freezer for 5 minutes to retain their shape while baking.
- Bake one sheet of cookies at a time on the top rack of the oven for 12-14 minutes, or until the edges are set. Avoid browning the edges.
- Allow the baked cookies to cool on the baking sheets for 15 minutes, then transfer them to a wire rack to cool completely.
- Repeat the rolling, cutting, assembling, and baking process with the remaining chilled dough and any dough scraps.
Next the buttercream,
- In a mixing bowl, using a paddle attachment on a stand mixer, beat the softened butter at medium speed for about 30 seconds until it becomes smooth.
- Add in the vanilla extract along with the salt. Mix on low speed until these ingredients are fully combined.
- Gradually incorporate the powdered sugar and the heavy cream into the mixture. Scrape down the sides and bottom of the bowl occasionally with a rubber spatula to ensure even mixing.
- Continue mixing on low speed until all the ingredients are fully incorporated and the frosting reaches your desired consistency. If the frosting is too thick, add more heavy cream, one tablespoon at a time. Conversely, if it’s too thin, add additional powdered sugar, a quarter cup at a time, until you achieve the desired texture.
- Transfer the prepared frosting into a large piping bag fitted with a medium round piping tip and seal the top with a large rubber band.
- Set the filled piping bag aside until you’re ready to decorate your baked goods.
To decorate,
- Pour the white sanding sugar into a small bowl and set it aside.
- Using the prepared frosting, pipe a thin layer on top of one cookie.
- Gently press the frosted side of the cookie into the bowl of sanding sugar, ensuring the frosting is fully covered by the sugar. This will create a snowy texture on top of the cookie while evening out the frosting.
- Pipe a small oval shape near the bottom of the cookie to create the bear’s muzzle.
- Cut a large chocolate chip in half and place it into the frosting at the top of the oval to form the bear’s nose.
- Use black sprinkles to create the bear’s eyes by placing them above the nose. For the ears, use red or pink sprinkles placed on each side of the bear’s head.
- (If you don’t have the exact sprinkles, feel free to get creative with what you have available!)
- Repeat the frosting and decorating steps with the remaining cookies until all are decorated.
- Allow the decorated cookies to set before serving and enjoying these adorable polar bear sugar cookies!
Recipe inspired by https://chelsweets.com/polar-bear-cookies/
